
Looping in Violence District is the single biggest separator between survivors who escape and survivors who get downed in the first thirty seconds of a chase. This Violence District how to loop guide breaks down the core window chains, fast vault timing, and moonwalk movement tech that let a runner stretch a chase across three or four pallets without burning them all. If you have ever watched a level 400 player spin a killer around a single tile and wondered how, the answer is almost always a clean loop build plus disciplined vault rhythm. Everything below is grounded in community-tested routes on the game's standard maps, the same loops featured in the official Violence District page on Roblox, so the techniques transfer directly into your next match.
What Looping Actually Means in Violence District
Looping is the act of using map geometry — windows, pallets, corners, and long walls — to force a killer into a predictable path that buys you time. In a 1 vs 5 chase, every second the killer spends rounding a corner is a second your generator squad is not being pressured. A clean loop is not about speed; it is about reading the killer's swing cooldown, cutting the inside corner, and chaining tiles together so the chase rotates around the map instead of dying at a single pallet.
Violence District is a 1v5 asymmetric horror game on Roblox where five survivors face a single killer, and pallets are intentionally scarce. That scarcity is why the beginner meta revolves around making each tile last, rather than spam-dropping pallets the moment a killer arrives. The Violence District game on Roblox places you in maps with a mix of strong tiles, mid tiles, and dead zones, so your looping decisions need to match the tile quality you spawn near.
Why Beginners Struggle With Loops
Most new survivors fail loops for the same three reasons. They run too far before turning, they commit to a pallet the moment they see a killer, and they do not know the difference between a fast vault and a slow vault. The result is a chase that lasts eight to ten seconds, one pallet gone, and a downed survivor feeding the killer an early game state advantage.
| Mistake | What Happens | Better Choice |
|---|---|---|
| Running straight past a strong tile | Killer cuts the corner and downs you at the next junction | Pre-rotate to a known loop and break line of sight first |
| Dropping pallet on first contact | Burns a scarce resource before reading the killer's cooldown | Hold the pallet, fake a drop, then commit when the killer swings |
| Slow vaulting every window | Gives the killer a free hit at the end of every vault animation | Fast vault only when you have a chain set up, slow vault only to reset |
| Staring at the killer during chase | Lose peripheral vision of the next tile | Look at the next window, not the killer's model |
A beginner looping build does not need fancy tech to fix these mistakes. It needs a small set of muscle-memory routes and a clear decision tree: which tile to commit to, when to fast vault, and when to abandon a tile and rotate to the next one.
The Two Tile Categories You Must Know
Every map in Violence District is built from two tile archetypes. Strong tiles are tight, three-window structures with at least one pallet anchor — think of the classic killer shack or the L-wall booths near the central generator. Mid tiles are long walls, open corridors, or single-window frames that give you a couple of seconds of distance but no stun opportunity. The fastest way to improve is to memorize two or three strong tiles on each map and treat everything else as a transition.
A practical rule of thumb from community routes: if a tile does not have a pallet and only one window, you should not loop it. Drop a pallet behind you as you pass through, take the hit on the other side if you must, and rotate to a real loop. Wasting twenty seconds in a dead zone is the single biggest reason early chases end in downs.
Building Your First Looping Loadout
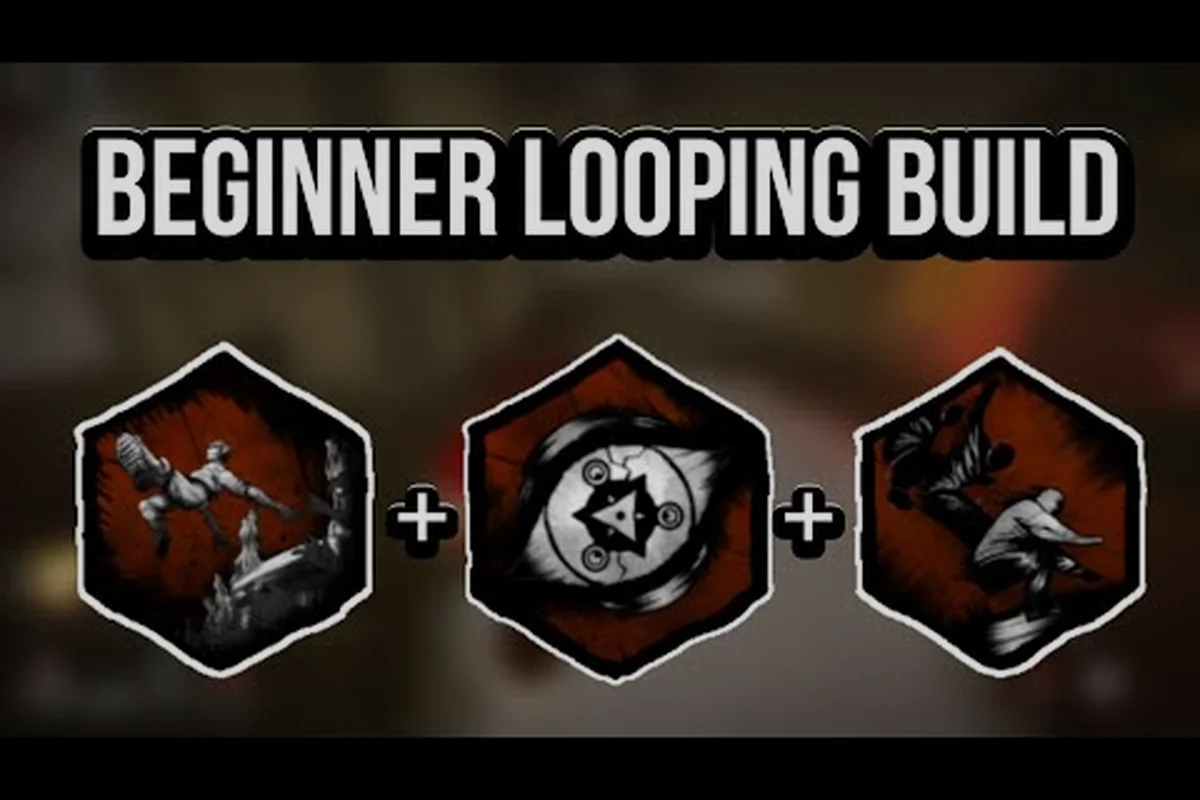
A looping build in Violence District is less about raw perk power and more about consistency. The goal of your first loadout is to reduce mistakes, not to win unwinnable chases. That means perks that reward smart play — distance tracking, vault bonuses, and movement quality — instead of panic-button perks that only fire once per match.
Core Survivor Perks For Beginner Looping
Start with perks that are forgiving when your routing is not perfect. Distance bonuses help even when your line is slightly off, and vault perks smooth over the small mistakes that beginners make on every window. Save the flashy "one-shot escape" perks for later, because they encourage panic plays that are the opposite of good looping.
| Slot | Recommended Perk Type | Why It Helps Beginners |
|---|---|---|
| Slot 1 | Distance bonus after vault | Forgives imperfect corner cuts and adds 1-2 seconds per window |
| Slot 2 | Vault speed or fast vault window | Makes the fast vault timing window more forgiving |
| Slot 3 | Pallet stun extension or pallet drop audio cue | Helps you read when the killer is committing to a pallet break |
| Slot 4 | Chase audio ping or scratch mark extension | Gives a wider view of the killer's position through walls |
These are general archetypes because Violence District's perk roster is still in alpha and the developer is actively tuning values. According to community testing, exact perk numbers shift between patches, so treat the slot logic above as your loadout philosophy rather than a frozen tier list. The Violence District beginner guide covers the exact unlock order and where to find these perks in your current level range.
Moonwalk Macro and Movement Tech
Moonwalking is the highest-impact movement tech in the current meta. It lets you reverse direction mid-chase without losing momentum, which is devastating against killers that predict your route based on your facing direction. The basic input is to tap the opposite strafe key while continuing to hold forward, creating a brief moonwalk shuffle that fakes a vault commit and forces the killer to swing early.
A moonwalk macro is a community-built input sequence that automates this shuffle for players on PC. Whether or not you choose to use one is a personal call — the game does not officially endorse macros, and some lobbies have stricter rules than others — but the underlying movement is the same. Practice the manual input first: tap A while holding W, then immediately tap D while still holding W, and you will see the moonwalk shuffle appear. This is the same movement you see in half an hour of level 600 looping footage where the runner keeps reversing the killer's reads without ever fully committing to a vault.
The reason moonwalk tech matters for beginners is not the flashy fake-out. It is the muscle memory of moving sideways while holding forward, which feeds directly into better corner cuts on every loop. If you can moonwalk, you can cut an inside corner without losing speed, and that single skill will improve every chase you run.
Reading a Chase and Choosing Your First Tile
The first three seconds of a chase decide whether you escape or go down. Your goal is not to outrun the killer in a straight line — that is impossible in Violence District — but to reach a strong tile with the killer at your back, break line of sight on a corner, and then start the loop. Everything else is execution.
The First-Tile Decision Tree
When you hear the chase music start, you have about two seconds to choose a direction. Use the flowchart below as a mental script.
| Situation | Best Move | Why |
|---|---|---|
| Strong tile within one corner of your position | Run to it, break line of sight at the corner, hold the pallet | Strong tiles force the killer to break or vault, both of which cost them time |
| Only mid tiles nearby | Run to the closest one, drop a pallet behind you, rotate to the next tile | Mid tiles are transition pieces, not loop anchors |
| Open map with no tiles in range | Run to a teammate's loop, double back, or throw the killer off your scratch marks | Open ground is a death sentence — your only job is to reach geometry |
| Killer is on you with no options | Fast vault through any window, slow vault the next one to reset | The fast-then-slow vault combo buys a full reset and re-evaluates the chase |
A common beginner mistake is to commit to the first tile you see, even when it is a mid tile with no pallet. The decision tree above is designed to break that habit. If your closest tile is weak, you rotate. The 1-2 seconds you lose rotating are smaller than the 8-10 seconds you lose committing to a dead loop.
Window Chains and Fast Vault Timing
A window chain is a sequence of two or three vaults taken without touching the ground between them. The chain works because each vault has a startup animation, an active window, and a recovery animation, and chaining them lets you string multiple cooldown phases together. In Violence District, the active window for a fast vault is short, but it is exactly the right length to clear a window before the killer can swing.
The timing rule is simple: press the vault input roughly one stride before you reach the window. If you press too early, you vault into the wall and lose your chain. If you press too late, you take a hit on the window frame. Practice the rhythm on a safe tile first — the same shack loop you see in community looping compilations — and your hands will learn the timing faster than any written guide can teach it.
For window chains, the order matters. Start with a fast vault to clear the first window at full speed, then use the inside corner of the second window to break line of sight, then chain into a slow vault if the killer is right behind you. The slow vault deliberately trades animation speed for a longer stun window on the killer's end, which is why it works as a reset. Once you have reset, you are back to choosing your next tile from the decision tree above.
Pallet Economy and When to Drop
Pallets are the most contested resource in Violence District. There is no way to respawn them mid-match, and the killer breaking one is a guaranteed 12-15 second timer during which they cannot chase anyone. That timer is the entire economy of a chase, and it is the reason the Violence District slow vault guide is so closely linked to pallet play.
When to Hold a Pallet
Hold a pallet when the killer is approaching but has not committed. The hold window is roughly one stride before the pallet, which is the moment when the killer has to decide whether to swing, break, or vault. A held pallet is a fake-out, and the threat of a stun is often more valuable than the stun itself. Watch for the killer to start their swing animation, and only then commit the drop.
When to Drop a Pallet
Drop a pallet when the killer is in swing range and you cannot afford a hit. The animation timing is the same as the hold — commit on the killer's windup — but the difference is that you are reading the moment as committed rather than threatened. A well-timed drop stuns the killer and gives you a full reset on the chase.
When to Abandon a Pallet
Abandon a pallet when the killer has broken line of sight on you but the pallet is still up. A pallet with no one in front of it is wasted, because the killer can break it for free during their patrol. If you have to leave a tile, do not drop the pallet on your way out — let it stand so the next survivor who rotates through the area can use it as a fake-out threat. The image below is not included in the body, but if you want a visual of the hold-drop-abandon decision tree, the Violence District beginner mistakes article walks through a side-by-side comparison of each scenario.
| Decision | Trigger | Result |
|---|---|---|
| Hold | Killer approaching, not committed | Threat of stun keeps killer cautious, costs 0 pallet charges |
| Drop | Killer in swing range, windup visible | Stun + 12-15 second break timer, costs 1 pallet charge |
| Abandon | Killer broke line of sight, tile is unsafe | Pallet preserved for the next survivor who rotates through |
A common rookie habit is to drop the moment a killer is visible. That burns the pallet without guaranteeing a stun, because killers can read pre-drop patterns and just walk around. The hold is your friend. Use it.
Common Beginner Routes and How to Chain Them
Route memorization is where beginner looping stops being reactive and starts being predictive. Once you know the layout of two or three strong tiles on your current map, you can chain them into a route that gives the killer no clean swing for 30-45 seconds. Community testers have shown that a 30-second chase at zero pallets burned is roughly equivalent in value to two pallet stuns, because your generator squad has had that entire window to progress objectives.
The Classic Two-Tile Chain
The most reliable beginner route is a strong tile chained into a second strong tile, with a pallet in between as the bridge. The flow is: run to tile A, fast vault twice, drop the bridge pallet to stun the killer, rotate to tile B, repeat. If the killer breaks the bridge pallet instead of taking the stun, you have bought 12-15 seconds of free distance and the killer is now at zero pallets on the route.
| Step | Action | Purpose |
|---|---|---|
| 1 | Spawn or rotate to tile A (strong, has pallet) | Establish the first loop anchor |
| 2 | Fast vault the inside window twice | Build distance and read the killer's cooldown |
| 3 | Drop bridge pallet on the killer's windup | Stun or force a break timer |
| 4 | Rotate to tile B (second strong tile) | Continue the chase from a fresh anchor |
| 5 | Repeat until the killer breaks chase or you reach an exit | Convert chase time into generator progress |
The Violence District looping tutorial series covers every standard map's two-tile chains in detail, including which bridges have pallets and which are open ground. If you only memorize one route per map, make it this one. It will carry you through early chases and teach you the rhythm of every other route on the map.
When to Break Route and Reset
Not every chase should be extended. If the killer has caught you on a dead zone, if your generator squad has already completed three objectives, or if you are the last survivor alive, the math changes. Breaking a chase early and hiding in a locker is sometimes the right call. A reset is not a failure — it is a recognition that your team's win condition has shifted.
The Violence District looping settings guide covers input customization and macro setups that make route execution cleaner, especially for players on lower frame rates or mobile devices. Even if you only adjust your vault keybind and your strafe sensitivity, the difference in chase consistency is noticeable within a single match.
Training Routine and Progression Path
Looping is a skill, and like any skill it improves with deliberate practice. The fastest way to level up is to spend five to ten minutes per match in custom or low-stakes lobbies, running the same two-tile chain over and over until your hands know the inputs without thinking. That repetition is what makes the Violence District emblem progression path feel natural, because emblem points reward chase time, and chase time is a direct function of loop consistency.
A 7-Day Beginner Looping Plan
| Day | Focus | Drill |
|---|---|---|
| 1 | Strong tile recognition | Identify the three strongest tiles on each map, no chasing |
| 2 | Fast vault timing | Run a single shack loop, fast vault only, count clean vaults |
| 3 | Slow vault reset | Same shack, slow vault on the second window every time, read the stun |
| 4 | Pallet hold-drop | Have a friend chase you, hold every pallet until the last possible moment |
| 5 | Moonwalk input | Practice the A-W-D shuffle until the moonwalk shuffle is consistent |
| 6 | Two-tile chain | Combine fast vault + pallet drop + rotate, time the full chain |
| 7 | Live match test | Run the full chain in real matches, note which transitions break down |
Each drill is short — five to ten minutes — but the cumulative effect over a week is dramatic. By day seven, your hands will know the inputs, your brain will know the routes, and your decision tree will run on autopilot during real chases. That is the moment looping stops being a struggle and starts being a tool.
Common Failure Points and How to Debug Them
If your chase times are not improving, the issue is almost always one of three things. You are picking the wrong first tile, your vault timing is off by half a stride, or you are committing to pallets too early. Replay your own chases, count the pallets you burned, and check whether your first tile was a strong tile or a mid tile. The numbers will tell you which link in the chain is breaking.
Looping is a learnable skill, and the gap between a level 50 survivor and a level 600 survivor is mostly repetition, not raw talent. The community footage of long-form looping sessions is a useful reference point, but the real progress happens in your own matches, one chase at a time. Keep the inputs clean, keep the routes short, and let the muscle memory build.
Frequently Asked Questions
What is the fastest way to learn Violence District how to loop as a beginner?
Start with one strong tile per map and drill a two-tile chain until you can run it without thinking. The Violence District how to loop learning curve flattens fast once you stop reacting to chases and start routing them in advance. Use the 7-day plan above to build muscle memory before worrying about advanced tech.
Does a moonwalk macro actually help, or is manual input better?
Manual input is better long-term because it teaches the underlying A-W-D shuffle, which feeds into better corner cuts on every loop. A moonwalk macro is a shortcut that some players use, but if you rely on it before learning the manual input, your corner cuts will lag behind. Build the manual habit first, then decide whether a macro fits your playstyle.
When should I use a fast vault versus a slow vault in Violence District?
Fast vault when you are chaining windows and need to maintain momentum; slow vault when you need a guaranteed reset and the killer is right behind you. A fast vault is a momentum tool, a slow vault is a panic reset, and mixing the two incorrectly is one of the most common beginner mistakes.
How many pallets should I expect to burn in a good chase?
A clean beginner chase should burn zero to one pallets and last 20-30 seconds. If you are burning two or more pallets in a single chase, your routing is off or you are committing to pallets too early. The pallet economy is a feature, not a bug, and the goal is to convert chase time into generator progress, not to stun the killer once.
Is there a difference between Violence District looping build and chase perks?
Yes. A looping build focuses on distance bonuses, vault speed, and pallet awareness, while chase perks are often panic-button cooldowns that fire once per match. Beginner looping builds should prioritize consistency perks over one-shot escapes, because consistent routing is what generates emblem points and wins matches over a long session.