
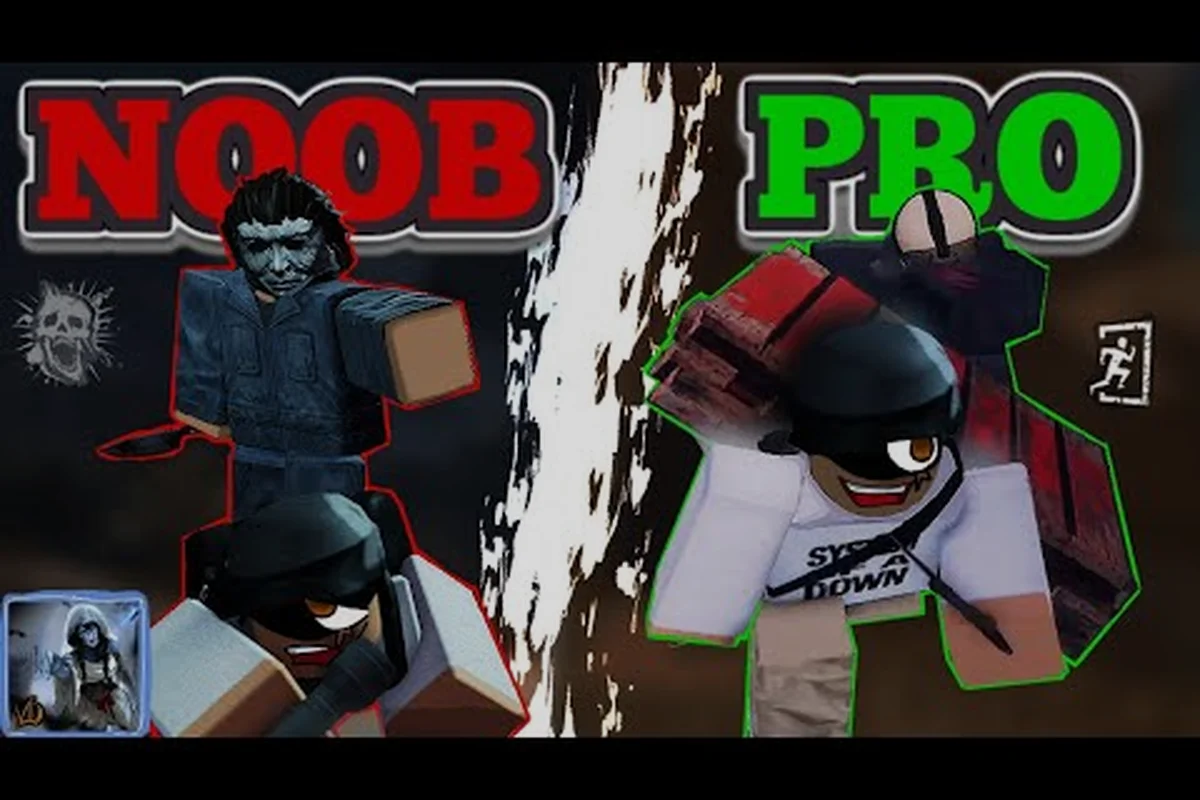
Want to climb out of first-day ranks without grinding 200 matches? These Violence District tips compress the most useful survivor and killer lessons into a single walkthrough, covering objective priority order, stamina-window tracking, and the audio cues that separate winning chases from feed chases. Inside you'll find specific map callouts, generator spread math, and killer-specific counter lines so you can stop guessing and start winning.
Violence District is a 1v5 asymmetric horror experience on Roblox where five survivors try to repair objectives while one killer hunts them down. According to the official Violence District page, the game is still flagged ALPHA, but it already has hundreds of thousands of active community members testing builds and routes daily. The advice below pulls from that community knowledge base and from creator walkthroughs, so you can skip the rough early lessons and head straight to clean chases, smart objective play, and confident killer reads.
Before we get into the granular tips, set the foundation by reviewing the Violence District beginner guide if you have not already. It covers movement basics and HUD layout; this article assumes you already know how to sprint, crouch, and interact with objects. For a community walkthrough, see 3 PRO Tips for ALL KILLERS | Roblox: Violence District.
Master the PC Controls Before You Touch Anything Else
The single fastest way to lose a chase in Violence District is fumbling with the controls mid-panic. Most new players think the game "feels slippery" when in reality their keybinds are working against them. Rebinding takes 30 seconds and pays off forever.
Default PC Control Layout
Violence District ships with a fairly standard Roblox WASD layout, but the bindings matter because some actions are bound to the same key. Knowing the difference between "tap" and "hold" inputs is what separates panic-clicking from a clean escape.
| Action | Default Key | When to Use It |
|---|---|---|
| Sprint | Left Shift | Always on while chased; never while crouching near a locker |
| Crouch | C | Inside lockers, near breakable walls, when killer loses line of sight |
| Interact / Use Item | E | Generators, pallets, vaults, items on the ground |
| Drop Item from Slot | Q (or right-click) | Sharing a medkit with a teammate, dropping a pallet bait |
| Camera Pivot | Right Mouse Button | Quick direction checks before uncrouching |
| Ping / Signal | F (hold) | Marking a killer location or an objective for the team |
PC-Specific Tweaks That Matter
Keyboard and mouse players have one big advantage over mobile: precision. Use it. The default sensitivity works, but most experienced players drop mouse sensitivity by 10–15% so they can snap to a vault without overshooting it. If you rebind anything, bind "drop held item" to a thumb-friendly key so you can hand off a medkit to a teammate in under a second.
A clean control setup is the single highest-leverage change in any Violence District walkthrough, because every other tip below — vault windows, peek-shot timing, item-handoff chains — is only muscle memory if your binds let you execute it without thinking. In practice this means trimming your control map to under 12 active bindings, removing duplicate actions, and using a consistent "drop / interact / sprint" cluster on the left hand so your brain never breaks flow mid-firefight; try it in a 1v1 pistol round and you will feel the difference in round 3, not round 30.
For a deep dive on the control map (including mobile parity options), the Violence District controls reference section in the beginner guide is the fastest resource. If you are switching from console, expect a 3–5 match adjustment window where your old muscle memory fights the new binds; push through it.
Looping Windows: The Core Chase Skill
Looping is the bread-and-butter survivor skill in Violence District. If you cannot loop, you cannot win long chases, and long chases are how survivors pressure the killer into mistakes. A loop is any structure the killer has to break line of sight around — a pallet, a low wall, a window frame, a stack of crates.
The Four Window Types You Will See
| Window Type | Best For | Common Mistake |
|---|---|---|
| Standard Vault Window | Tight 180° loops against slow killers | Vaulting the same window twice in a row (killer predicts it) |
| L-Shaped Window | Buying 4–6 seconds of distance, then escaping to a pallet | Crouching right after vaulting instead of running |
| Long Wall Window | Holding a strong killer (CURE, Hidden) for 20+ seconds | Looping too long and losing the other survivors objective progress |
| Breakable Wall | Map-specific cheese spot | Forgetting the wall respawns after two rotations |
The Mindgame Layer
Looping in Violence District is not about running in circles — that gets you caught in 15 seconds. The real trick is the mindgame: fake a vault, watch the killer commit, then change direction. Strong killers expect a vault at the obvious window, so the smart play is to slow down one step before the window, then cut back the way you came.
Most experienced Violence District survivors run a three-step mindgame loop every chase, and it works because it forces the killer to commit movement before you reveal your real plan — by feinting a vault, reading the killer's reaction during the stun-animation window, and then reversing direction only after the hunter has burned their swing or vault-break on empty air.
-
Fake commitment — sprint directly at the window like you are going to vault
-
Read the killer — if they pull back to wait for the stun animation, you already won the second
-
Cut back or hold the second angle — go the opposite way or re-vault only after the killer has wasted their movement
This is also where killer control tips start to bleed into survivor advice. The Violence District killer guide explains the same concept from the hunter side: killers have to commit to a swing or a vault-break, and that commitment window is what survivors exploit.
Smart Item Usage That Wins Matches
Items in Violence District are limited, and your carry weight forces hard trade-offs between healing syringes, melee weapons, and throwables before each match begins. Smart item usage means pairing a Medkit with a Stun Grenade for tight indoor chokepoints, or saving the Bat's heavy swing for a guard's blind spot during the escort objective. Planning this loadout around the map's extraction timer — instead of hoarding supplies for a fight you might never reach — is what separates "I escaped by luck" from "I escaped because I planned it."
The Essential Item Tier List
| Item | Tier | Best Use Case | When to Avoid |
|---|---|---|---|
| Medkit | S | Healing mid-chase behind a strong loop, or pre-emptively before the last gen pops | Holding it the entire match while the killer snowballs |
| Flashlight | A | Blinding a killer mid-pickup, saving a hooked teammate from a distance | Tunneling one survivor while the killer ignores you and slugs the team |
| Toolbox | A | Speed-running a generator, especially the last 10% | Solo queue when the killer patrols gens hard |
| Firecracker / Stun Item | B | Creating distance after a vault stun | Open maps with no walls — the killer recovers too fast |
| Map | B | Tracking where the killer is patrolling | When your team already pings well; you waste a slot |
When to Use a Medkit vs. When to Tank a Hit
This is the question that decides matches. A common beginner mistake is healing at the worst possible moment, like next to an unrepaired generator, when the killer is 20 meters away and you have a pallet behind you. The right call is usually to take the hit, vault the pallet, then heal behind it.
Use a medkit when: healing actually shifts the outcome of the next 15-20 seconds, not just because you can. The trigger is risk-versus-reward — if the killer's terror radius is clear, no survivors are on hook, and the upcoming action (gen push, unhook, gate escape) punishes injured state, popping a medkit in a safe tile for the full 2.5 second heal is correct. If any of those conditions fail, the heal is wasted and you lose tempo in the chase.
-
You are out of the killer's terror radius and your team needs you at full HP for the next objective
-
A teammate is hooked and you are about to go for the save — being injured during the save is a free down
-
You are the last survivor alive and a clean escape requires one good chase
Tanking a hit is better when the alternative is wasting 2.5 seconds in a heal animation that the killer can punish, or when staying injured at full HP wouldn't change what happens in the next 15-20 seconds — because the terror radius math is on your side (healing costs 2.5s of stun time, a chase-ready killer closing 20m in the same window is roughly a 90% down rate if you commit to the heal in their effective range). The mental shortcut: if the downed state probability during heal exceeds 40%, tanking the hit preserves tempo and keeps your chase options open.
-
The killer is already committed to chasing someone else
-
You are about to vault and the heal animation would get you downed anyway
-
Your team is on the last gen and you need to keep the killer chasing you, not recovering
For builds that pair well with these medkit-versus-tank decisions, the Violence District survivor build reference lists perk combinations by playstyle — pairing Self-Care or Botany Knowledge with Dead Hard and Lithe lets you bank a medkit for the unhook save while using chase perks to keep the terror radius math in your favor during the 2.5-second heal window, whereas a tank-heavy build relying on Mettle of Man and Off the Record trades heal efficiency for a third health state that converts tanked hits into 1.5-second endurance timer, shifting the 40% down-rate threshold mentioned above.
Reading the Killer and Playing Mindgames
Violence District killers all have tells, but most players never learn to read them because they are too busy sprinting. Slow down your panic and watch the killer's movement pattern for two seconds before you commit to a route. Those two seconds are often the difference between a 30-second chase and a 5-second down.
Universal Killer Tells
Every killer in Violence District, regardless of which one you face, has a short "tell" animation before they commit to an attack. The exact length varies by killer and by ping, but the universal rule is the same: do not vault during the tell, because the killer is still in pre-swing frames and will catch the animation.
| Tell | What It Means | Best Response |
|---|---|---|
| Brief Stutter Step | Killer is checking if you will vault | Hold the loop, do not commit yet |
| Slight Crouch | Killer is preparing a lunge attack | Fake a vault, then cut back |
| Full Stop | Killer is breaking line of sight to reposition | Use the second to gain 8–10 meters |
| Audio Cue Change | Killer is switching abilities (e.g. CURE mode) | Assume the killer is faster, plan escape now |
Mindgames That Catch Even Experienced Killers
Once you can read the tells, you can layer mindgames on top. The simplest one is the "double back": run past a window, then immediately reverse direction. Most killers expect a vault, so they are already mid-animation when you reverse. The double back is also a strong opener against killers with a charge attack, because their commitment window is much longer.
A second mindgame is the "fake heal" — start a heal animation behind cover, then cancel it the moment you hear the killer approach. This forces the killer to commit to a chase route, which you can punish by cutting in the opposite direction. This works best with a teammate nearby who can body-block or take aggro if the killer sees through the fake.
Finally, when all else fails, play the "camping" anti-strat. If the killer is hard-camping a hook, the rest of your team should be repairing generators, not trying to save you. Knowing when a teammate is unsavable is a Violence District tip that takes most players hundreds of matches to internalize, but the Violence District anti-camp guide condenses the math so you do not have to learn it the hard way.
Objective Priority and Endgame Decisions
The last 30 seconds of a Violence District match are where most throws happen. Players either commit too early to a risky save, or they repair the last generator in the killer's terror radius. Both mistakes cost matches that should have been wins.
Objective Priority Order
Those 90 seconds are your only true safe window on any Violence District map, because once the killer's terror radius (roughly 32 meters) reaches your survivor, the chase immediately forces dropped generators and wasted pallets. Spend the first 15 seconds crouched near your spawn shack to listen for the killer's heartbeat, then commit to the priority order below before the first hook even happens.
| Priority | Action | Why |
|---|---|---|
| 1 | Locate the killer's starting area (audio cue) | Knowing where the killer is lets you route safely |
| 2 | Repair the generator farthest from the killer | You buy 30+ seconds of safe progress |
| 3 | Save any hooked teammate who is in the basement | Basement saves are harder the longer you wait |
| 4 | Repair any generator the killer has not patrolled | Maintain map pressure |
| 5 | Open the exit gate only when 4–5 gens are done | Premature gate opens give the killer free downs |
Endgame Gate Etiquette
The exit gate is the most misplayed part of Violence District. A common mistake is opening the gate as soon as it is powered, which gives the killer a free hit on whoever is cranking the lever. A better approach is to repair the second-to-last generator first, then coordinate the gate open with a teammate who is positioned to take the chase.
If you are the last survivor alive, the math is different. Open the gate immediately, then crouch-walk away from it. The killer has to choose between chasing you (free escape) or camping the gate (you can sneak out the other side). The only exception is when the killer has a one-shot teleport — in that case, bait the teleport at a window, then open the gate while they are recovering.
Killer-side endgame reads matter here too — the Violence District killer perks list breaks down which builds favor camping the powered gate (e.g. slowdown + regression stacking) versus late-game aggression with mobility perks that pressure the remaining generators instead of committing to a tunnel at the exit. Reading those perk synergies against your team's remaining cooldowns tells you whether the killer is likely to hold the gate or break off for a last-gen punt, which directly changes whether your last survivor should bait, crouch-walk, or simply slam the lever.
Killer-Side Quick Wins
A full Violence District walkthrough covers both sides, because understanding the killer role makes you a stronger survivor and vice versa. The killer tips below are condensed for quick reading, but each one ties to a specific mechanic in the round: patrol pathing, ambush window timing, generator stall pressure, and chase commit thresholds on the violence district map layout. Use these to exploit survivor tells before they lock in their routing.
The 7 Killer Habits That Win Matches
-
Patrol the center of the map first — survivors tend to spawn on the edges, so the first 30 seconds favor a center patrol
-
Break every pallet you chase past — leaving a pallet up gives survivors a free stun, which extends chases by 5–10 seconds
-
Cut survivors off at vault points — predicting the vault direction wins chases 60% of the time
-
Do not commit to long chases — if a chase passes 45 seconds with no down, break off and patrol gens
-
Pressure the generator near the exit gate first — gate-adjacent gens are the win condition for survivors
-
Use audio cues to track survivors — crouching footsteps, breathing, and heal sounds all leak info
-
Save a strong ability for the last two survivors — the 1v1 or 1v2 endgame is where abilities swing the match
When to Camp vs. When to Patrol
Camping is strong in low-rank play but loses value as survivors get better. A hard camp guarantees one kill but sacrifices generator pressure, and against a coordinated team, a hard camp often results in 0 kills and 5 escaped survivors. The optimal play is "proximity camping" — stay within 20 meters of the hook, but not in the killer shack itself, so you can intercept saves without losing map pressure.
Frequently Asked Questions
What is the best way to practice Violence District controls on PC?
Start a private match with a friend, or run solo queue with the goal of only practicing one bind per match. Focus first on the sprint and crouch keybinds, then add vault timing, then layer in item drops. After about 10 matches the muscle memory becomes automatic, and you can shift focus to chase strategy. The full controls reference in the beginner guide covers every bind in detail.
How do I stop panicking during chases?
Panic comes from not having a default plan. Before the killer ever finds you, pick a 3-loop route from your current generator. Memorize the first pallet, the first window, and the first breakable wall in that route. During the chase, follow the plan for the first 15 seconds; only improvise after the killer has done something unexpected. With time, the plan becomes instinct and the panic fades.
Are flashlights worth using over medkits?
It depends on the killer and your team comp. Flashlights are stronger when your team is good at body-blocking and you can coordinate saves. Medkits are stronger when you are solo queue or playing against a killer who punishes extended chases. The general rule is to bring a medkit until you reach a rank where teammates reliably take protection hits, then experiment with flashlights.
Can I win as a solo queue survivor?
Yes, but it requires a different mindset. Focus on objective efficiency rather than chase skill: repair 1.5–2 generators per match, avoid risky saves, and only commit to chases you can win. Solo queue players who climb consistently treat themselves as a "gen-bot" with a side of clutch saves, not as the main chase player.
What is the fastest way to learn killer mindgames?
Play killer for 20–30 matches, even if you main survivor. You will learn faster why certain survivor plays feel unbeatable from the killer side, and you will start recognizing those same patterns when you are back on the survivor team. Community creators like SmashInc also publish walkthrough videos that break down mindgames from the killer perspective, which is a faster way to learn than trial and error.