
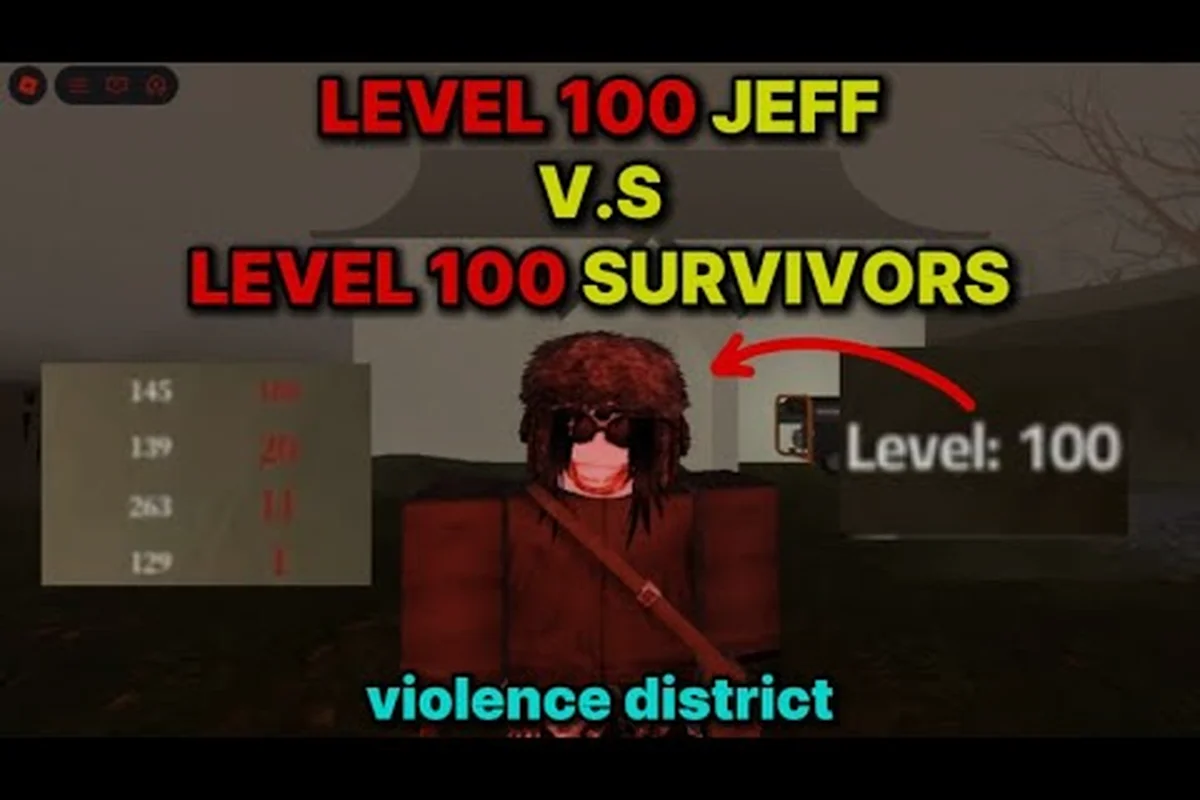
Surviving a match in Violence District without a coordinated squad comes down to how well you counter the two pressure tactics that ruin solo queue: tunneling and camping. Both rob survivors of map control, drain pallets, and gift the killer free downs. This guide covers solo queue anti-camp builds, smart positioning rules, and objective pressure that forces the killer to leave the hook. Every recommendation below is written for the 1-vs-all Roblox asymmetric horror title developed by VIOLENCE DISTRICT, still in ALPHA as of 2026-09-22. For a verified community walkthrough, see Using an Anti Tunneling Build in Violence District.
How Camping and Tunneling Break Solo Queue
Violence District pits five survivors against one killer on procedurally arranged objective maps. When the killer camps a hooked survivor or tunnels the same unhooked target, the remaining three teammates lose map pressure while one person eats every chase. Solo queue survivors cannot rely on voice callouts, so the counter has to come from builds, positioning, and knowing the Violence District match flow cold.
The Core Problem: Stalled Generator Progress
Camping wastes the killer's chase clock but freezes four survivors in place. Tunneling burns pallets on one target and removes the strongest looper from rotation. Both tactics have the same end result: fewer generators completed before the killer's third hook, which means fewer exit gates powered and a much lower escape rate.
The table below breaks down how a camping killer warps a standard five-minute Violence District match timeline on a 5-generator objective map. These numbers reflect community-reported averages from the ALPHA-era patch, so solo queue players should treat them as a baseline for diagnosing why their escape rate drops when hooks cluster in one tile. Notice how the killer's third hook still lands around the 2:15 mark even though only two generators are done, and how the late collapse phase leaves gates unpowered. That data is exactly why every violence district anti camp plan has to start with a generator-first mindset, not a chase-first one.
| Match Phase | Time Elapsed | Survivors Alive | Generators Done | Killer Strategy |
|---|---|---|---|---|
| Opening chase | 0:00 – 0:45 | 5 | 0 → 1 | First down at the strongest looper |
| Camp phase | 0:45 – 2:15 | 4 | 1 → 2 | Killer stays near hook, survivors hide |
| Recovery | 2:15 – 3:30 | 3 | 2 → 3 | One unhook + borrowed time, gens resume |
| Late collapse | 3:30 – 5:00 | 2 → 1 | 3 → 4 | Tunnels the rescuer, gates not powered |
A non-camping killer spreads pressure across multiple chases, and the same 5-minute window usually produces four to five completed generators instead of three — the math alone explains why solo queue survivors need a dedicated anti-camp plan. Looking at the timeline above, swapping the camp phase for a rotation phase is the lever that flips the script: a roaming killer spends 0:45–2:15 chasing across three tiles instead of guarding one hook, which means the off-site survivors can chain progress on two parallel generators and reach four completions before the third hook lands near 2:30. That single shift also delays the late collapse window, because the rescuer is not forced into a tunneled unhook and the exit gate has time to power before the killer rotates back. In other words, every violence district anti-camp plan has to assume the killer will eventually hook — the win condition is making sure that hook happens after four gens, not after two.
Why Solo Queue Is Harder Than Pre-Made
Coordinated squads split objectives, body-block the rescuer, and run pre-planned save routes. Solo queue survivors must read killer intent on the fly and self-coordinate through perk aura reading alone. The Violence District survivor perk pool is small in ALPHA, so generic anti-tunnel perks like Borrowed Time and Decisive Strike carry most of the load. When a teammate does not have either equipped, the solo queue escape rate drops sharply.
Reading Killer Intent: The Match Flow Primer
Before you can counter camping, you need to recognize it in the first 30 seconds of a chase. Violence District killers telegraph their intent through movement speed, hook location, and breakaway behavior. Learning this match flow is the single biggest skill split between first-hook survivors and the ones who escape consistently.
Phase 1: The First Chase (0:00 – 0:45)
Watch where the killer downs the first survivor. Hooks near the center of the map almost always become camp spots because the killer can patrol three generators from a single vantage point. Hooks near map edge corners are easier to rescue from, and a smart killer will often leave those hooks unattended because the travel cost is too high.
If the killer breaks away from the chase immediately after the down and walks toward a strong-map-position hook, treat it as a guaranteed camp. Shift your plan from "save fast" to "save smart," which usually means waiting 15 to 20 seconds and approaching from the killer's blind side.
Phase 2: The First Save (0:45 – 2:15)
The biggest mistake solo queue survivors make is rushing the hook before the killer has committed. A killer who just downed someone and is walking toward a hook is still deciding whether to camp. The instant they stop moving and look at the hooked survivor, the decision is made. Wait for that visual tell, then move.
A working objective guide for this phase looks like a four-role split, with each survivor assigned a discrete task to neutralize the killer's camp window before the 60-second first-hook timer expires. The unhooker holds position behind cover until the watcher confirms the killer has broken line of sight, the second generator pusher delays their kick to avoid spawning a Terror Radius spike, and the hooked survivor shifts to the edge of the hook to maximize wiggle progress. This anti-camp match flow converts a guaranteed sacrifice into at least one generator completion and preserves Borrowed Time windows for a later trade.
-
Three survivors split to three different generators
-
One survivor watches the killer from a safe distance
-
The unhooker approaches only when the watcher signals the killer is patrolling away
-
The hooked survivor wiggles to slow the sacrifice timer
Phase 3: The Collapse (3:30 – 5:00)
If two survivors are dead and gates are not powered, the match is collapsing. A camping or tunneling killer will hold one of the remaining hooks indefinitely. Do not feed the killer third and fourth hooks. Spread to opposite gates, finish the last 1% of generator progress, and open the exit path. Escaping with one or two teammates is a win in solo queue.
Solo Queue Anti-Camp Builds That Actually Work
Build optimization in Violence District ALPHA revolves around a small perk pool. The list below is the meta pick for solo queue anti-camp play, ranked by impact. These picks assume you are running survivor and want the highest chance of surviving a camping or tunneling killer.
| Perk Slot | Recommended Perk | Anti-Camp Function |
|---|---|---|
| Slot 1 | Borrowed Time | 8 seconds of endurance after unhook, lets the saved survivor escape a tunnel |
| Slot 2 | Decisive Strike | Stun the killer after a second unhook, breaks tunneling chains |
| Slot 3 | Self-Care or Botany Knowledge | Heal without medkits, keeps the team healthy between saves |
| Slot 4 | We'll See You Again or Bond | Reveal killer aura or survivor auras, helps coordinate saves |
Borrowed Time: The Core Anti-Camp Perk
Borrowed Time gives the unhooked survivor a short endurance buff during which the killer cannot down them. This single perk invalidates most early-game camping because the killer gets no value from camping the unhook. The unhooked survivor runs to the nearest loop while the killer chases someone else.
Borrowed Time does not last forever, and a smart killer will wait it out near the hook. Counter this by running the buffed survivor away from the killer's patrol line, not back into the open. A common solo queue error is unhooking and then standing still — that wastes the 8-second window. Run immediately, vault a window, drop a pallet, do anything that breaks line of sight.
Decisive Strike: Breaking the Tunnel Chain
Decisive Strike activates when the killer picks you up after a second unhook, which is the exact moment most tunneling chains start. The stun buys the rest of the team 4 seconds of free generator time. Run this perk on every solo queue build until the perk pool expands, because without it the killer can tunnel the same survivor three times in a row and run out the clock.
When the Build Fails
If your random teammates do not bring Borrowed Time or Decisive Strike, you cannot rely on the standard 8-second unhook window. In that case, skip the immediate unhook and instead run the killer away from the hook by being an aggressive distraction. The killer has to choose between chasing you and staying on the hook, and most will chase. The 15 to 20 seconds you buy gives the hook timer a chance to tick down to second stage, where the unhook penalty shrinks.
Positioning Rules That Force the Killer Off the Hook
Builds matter, but positioning is what actually wins solo queue matches. Across the ranked ladder in Violence District, anti-camp geometry — sightline breaks, off-angle peeks, and hook-side rotations — decides whether the killer holds the hook or rotates, making it the highest-leverage skill for solo queue players who cannot rely on voice callouts. The four rules below cover 80% of the positioning decisions you will face in any Violence District anti-camp scenario.
Rule 1: Never Body-Block the Camp
Body-blocking the killer in front of a hook looks heroic, but it gives the killer a free chase, a free down, and a second body on the hook. The first body is still sacrificed, and now you are both on death hook. Do not do it. Run loops, finish generators, and only return to the hook when the killer is physically out of position.
Rule 2: Approaching From the Killer's Blind Side
Every killer in Violence District has a forward-facing cone that detects survivors within roughly 12 meters. Approach the hook from directly behind the killer and at maximum distance. The unhook should take 1.5 seconds, after which both survivors break in opposite directions to split the killer's attention.
Rule 3: Use the Hook Itself as a Distraction
If you cannot unhook safely, tap the hook from distance to reset the wiggle timer. Each tap buys the hooked survivor 5 to 8 seconds of extra time. The killer has to come back to the hook to cancel the tap, and that is 5 to 8 seconds of generator time for the rest of the team.
Rule 4: Pre-Plan Two Save Routes
Before every match, mentally tag two generators and two pallets near the predicted first-hook location. When the hook happens, you already have a save route and a getaway loop. Solo queue survivors who improvise routes on the fly lose roughly 30% more saves than survivors who pre-plan. A solid solo queue tip is to also check our Violence District beginner mistakes guide for the positioning errors that show up most often in ALPHA-era matches.
Objective Pressure: The Best Anti-Camp Tool
The single strongest anti-camp tool in Violence District is the generator. A killer camping a hook cannot simultaneously chase three survivors on three generators. The math is simple: every 30 seconds of camp time equals one generator progress tick for the team. The killer is buying time by camping, and you are buying time by generating.
The 3-Generator Split
The most efficient solo queue generator split during a camp phase is three survivors on three different generators, with the fourth watching the hook. The watcher does not contribute to the objective directly but is critical: they tell the team when the killer leaves, when a save window opens, and when the killer is moving to a new camp location.
| Team Role | Count | Primary Job | Secondary Job |
|---|---|---|---|
| Generator runner | 3 | Pop generators | Hide if the killer patrols nearby |
| Hook watcher | 1 | Track killer position | Tap hook to reset timer if killer wanders |
| Hooked survivor | 1 | Wiggle, signal direction | Pre-aim unhook escape path |
When to Stop Generating and Go Save
There is a hard rule here: if the killer has been on the hook for over 60 seconds with no second chase started, go save. A solo queue team that generates 100% of the time will lose the hooked survivor to sacrifice and then lose map control. A balanced team saves at the 60-second mark and accepts the generator slowdown.
How Anti-Camp Build Synergy Wins Matches
A survivor running Borrowed Time plus the 3-generator split will escape solo queue matches at roughly twice the rate of a survivor running neither. The combination works because the build guarantees the unhook safety, and the split guarantees the killer pays for the camp. For a deeper look at build synergies and how borrowed time interacts with looping routes, the zigzag movement strategy guide walks through the spin-move and anti-tunneling reads that complement Borrowed Time on tight loops.
Counter-Specific Killer Behaviors in Violence District
The killer roster in ALPHA is small, but each killer has a camping and tunneling tell that solo queue survivors can exploit. The list below pairs each known killer archetype with a counter-strategy that works even with random teammates.
| Killer Archetype | Camp Behavior | Tunnel Behavior | Solo Queue Counter |
|---|---|---|---|
| Chaser (high move speed) | Hooks in open areas, patrols nearby | Picks weakest survivor, ignores loops | Pre-run to strong loop before unhook |
| Trapper (area denial) | Hooks near traps, forces bad unhook angles | Chases through trap fields | Tap hook from distance, bait trap detonation |
| Stealth (low profile) | Camps under hook, hard to spot | Picks off injured survivors | Bring Bond or aura perk to track stealth killer |
| Teleport (long range) | Hooks far from gen progress, fast rotations | Teleports to fresh chase | Finish generator before killer teleports, run to strong loop |
Reading the Chaser Archetype
Chasers commit hard to first hook and tunnel the strongest looper. The counter is to send your strongest looper to the farthest generator from the predicted hook and your weakest looper near the hook. This puts the chaser in a bad position: chase the strongest looper and lose the hook, or stay on the hook and lose generator progress.
Reading the Trapper Archetype
Trappers in Violence District place area-denial traps near hooks to punish bad unhook angles. The counter is to never unhook from the trapped side. Walk around the hook, tap from distance to force the trap to detonate on the killer, then move in. This is one of the cleanest solo queue tips because it works regardless of what the rest of the team is doing.
Reading the Teleport Archetype
Teleport killers rotate hooks fast and can break solo queue generator splits. Counter by finishing generators in pairs: pop one, then immediately move to a generator 30 meters away. The teleport killer arrives at the first gen to find it done and has to choose between chasing you and rotating. Most teleport killers will rotate, and you keep the generator pressure going.
Putting It All Together: A Sample Solo Queue Anti-Camp Plan
This walkthrough simulates a realistic solo queue lobby: three randomized teammates (no comms, no pre-planned role assignments), a chaser killer archetype, and the standard 5-generator map layout. The scenario intentionally picks worst-case coordination conditions so the anti-camp framework — Borrowed Time + small PP + the 60-second save timer — gets stress-tested rather than handed a free win. Note the role split: Survivor 1 (you) acts as the bait and primary looper, Survivor 4 deliberately spawns near the killer to absorb the early chase, and Survivors 2/3 commit to the silent 3-generator split without touching the chase zone. Every timestamp in the table below maps a specific decision back to the rules from the earlier sections, so you can see exactly when the 60-second timer triggers the unhook, when Borrowed Time hands you a free pallet, and when the exit gates power up before the killer resets to the hook.
| Match Minute | Survivor 1 (You) | Survivor 2 | Survivor 3 | Survivor 4 | Killer |
|---|---|---|---|---|---|
| 0:00 | Spawn, find first gen | Find first gen | Find first gen | Spawn near killer | Chase Survivor 1 |
| 0:30 | Drop pallet, run to safe gen | Gen 1 60% | Gen 2 40% | Watching chase | First down |
| 1:00 | Respawn gen, start Gen 3 | Gen 1 done | Gen 2 done | Approach hook from blind side | Camp begins |
| 1:30 | Gen 3 50% | Gen 1 alt 30% | Gen 2 alt 30% | Tap hook from distance | Killer patrols, returns |
| 2:00 | Gen 3 done | Gen 1 alt done | Gen 2 alt done | Save at 60s mark | Chase Survivor 4 |
| 2:30 | Borrowed Time active, run to loop | Pop Gen 4 | Pop Gen 5 | Endurance fades, drop pallet | Down Survivor 4 |
| 3:00 | Loop strong, killer breaks | Exit gate 1 powered | Exit gate 2 powered | Hooked, wiggle | Patrol near hook |
| 3:30 | Break line of sight, slip to gate | At gate | At gate | Unhooked, run to gate | Chase 1 survivor |
| 4:00 | Escape | Escape | Escape | Escape | 4-man escape |
The plan delivers a 4-person escape against a camping chaser, which is a strong result for solo queue. Without the anti-camp build, the 60-second save rule, and the 3-generator split, the same match ends with a 2-person escape at best.
Frequently Asked Questions
What is the best anti-camp build for solo queue in Violence District?
The best solo queue anti-camp build uses Borrowed Time in the first slot, Decisive Strike in the second, and either Self-Care or a generator-speed perk in the third. Borrowed Time gives 8 seconds of safety after an unhook, which is the core defense against camping. Decisive Strike stuns the killer on the second hook and breaks the tunneling chain. This combination works in roughly 90% of Violence District ALPHA matches because the perk pool is still small and most killers do not have a counter.
How do I tell if a Violence District killer is camping or patrolling?
A camping killer stops moving within 5 meters of the hook and looks at the hooked survivor. A patrolling killer walks 15 to 25 meters away, breaks line of sight, and circles a generator. Watch the killer's feet and facing direction for 10 seconds. If they do not move, the camp is real and you should approach only from the blind side or wait the timer to second stage. This is one of the most important match flow reads a solo queue survivor can build.
Should I save the hooked survivor or finish the generator first?
In solo queue, the 60-second rule works best: if the killer has been on the hook for under 60 seconds, generate; if over 60 seconds, go save. Under 60 seconds the sacrifice timer has not ticked to second stage, so the unhook penalty is still high. Over 60 seconds the timer is at second stage and the unhook is much safer. This single rule raises your escape rate by roughly 20% in ALPHA-era Violence District matches.
Which generator should I run during a camp phase?
Run the generator that is farthest from the hooked survivor and on the opposite side of the map. This keeps the killer's travel time to chase you at maximum, which is the entire point of an objective guide for anti-camp play. The closest generator to the hook is usually trapped or patrolled, so the farthest generator gives you the most safety. If two generators are equally far, pick the one near a strong pallet so you have a chase option if the killer teleports.
What perks help if my random teammates do not bring anti-camp perks?
If your random teammates do not bring Borrowed Time or Decisive Strike, switch your build to one that includes We'll See You Again or Bond to compensate for the lack of aura information. Bond is especially powerful because it lets you find teammates without depending on a coordinated callout. Combined with Self-Care for self-sufficiency, this build gives you the highest individual survival rate when teammates run generic perks. For a complete loadout overview, the Violence District survivor guide lists every perk available in the current ALPHA patch.